Let’s cut to the chase: the One-Man Band is one of those items in Don’t Starve that looks like a joke until you realize it solves multiple late-game problems. From automating crop maintenance to recruiting entire armies of hostile mobs, this quirky instrument deserves a permanent spot in your inventory—if you know how to wield its chaotic power.
What Even Is the One-Man Band?
Crafted at the Prestihatitator (Magic Tab) for 4 Pig Skins, 2 Nightmare Fuel, and 2 Gold Nuggets, this "musical" tool has two core functions:
1. Tending crops by satisfying their "happiness" requirement across a 4x4 farm plot.
2. Recruiting neutral/hostile mobs (Pigs, Bunnymen, Merms) without needing food bribes.
But here’s the kicker: it does both simultaneously. Equip it for 1-2 seconds while standing in your farm, and you’ve just tended 16 plants at once. Unequip it near a Pig Village, and you’ll have an instant entourage of followers.
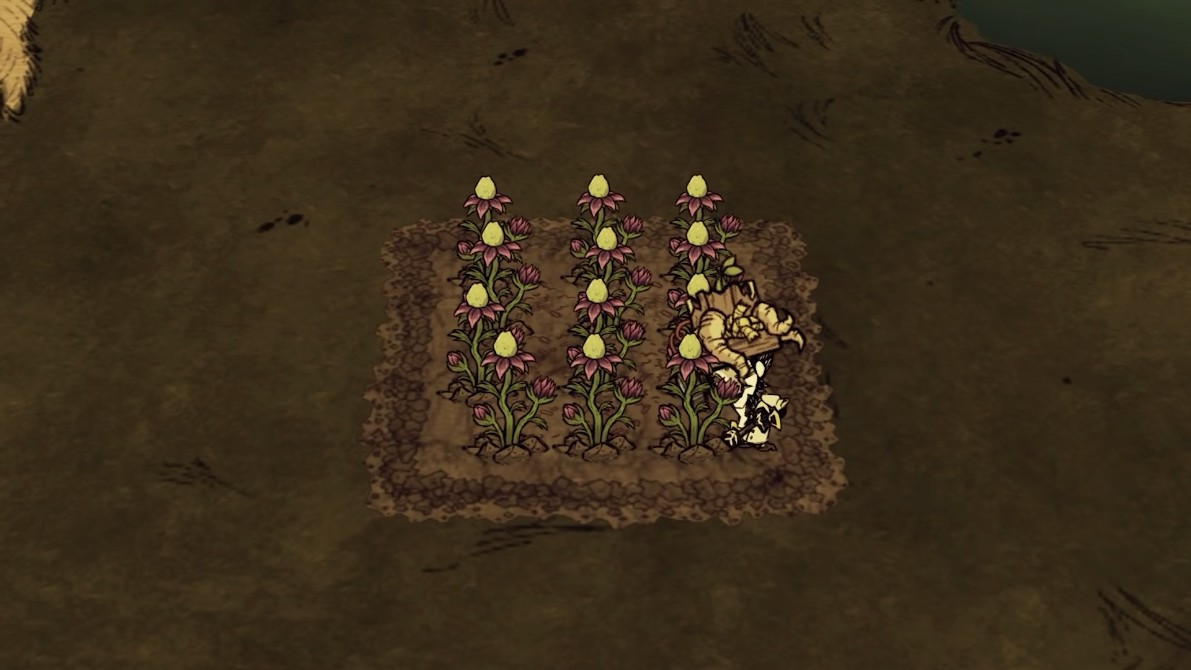
Using the One-Man Band to tend to a 4x4 farm plot, maximizing crop growth.
Farming on Autopilot: One-Man Band vs. Chorusbox Drama
New players often debate whether to grind for WX-78’s Chorusbox circuit or stick with the One-Man Band. Let’s settle this:
| Feature | One-Man Band | Chorusbox |
|---|---|---|
| Crafting Cost | 4 Pig Skin, 2 Nightmare Fuel, 2 Gold | 8 Moon Rocks, 8 Gears, 2 Moon Glass |
| Durability | 3 minutes total | Permanent |
| Area of Effect | 4x4 farm plot | 3x3 farm plot |
| Team Utility | Sanity drain (but mob recruitment) | Sanity gain for allies |
| Best For | Early/mid-game setups, mob armies | Late-game mega-bases |
The One-Man Band wins early game due to its low cost and versatility. Need to tend 36 crops in a 2x2 plot? Tap the band for 2 seconds per growth stage and call it a day. Chorusbox requires moon alignment (literally) and wastes circuit slots better used for speed or illumination.
Recruiting an Army (Without Getting Stabbed)
Hostile mobs like Merms and Bunnymen hate most survivors—unless you’re rocking the One-Man Band. Here’s how to exploit this:
Step 1: Aggro Reset
- Equip the band near hostile mobs.
- Let them attack you once, then unequip the band.
- Re-equip it quickly. The mobs will reset aggro and follow you.
Step 2: Loyalty Management
Followers recruited via the band have lower loyalty timers than those bribed with food. Counter this by:
- Using Beefalo Horns or Shell Bells (Pearl’s Island) for passive happiness boosts.
- Combining with Wurt’s Merm King for infinite Merm workers.
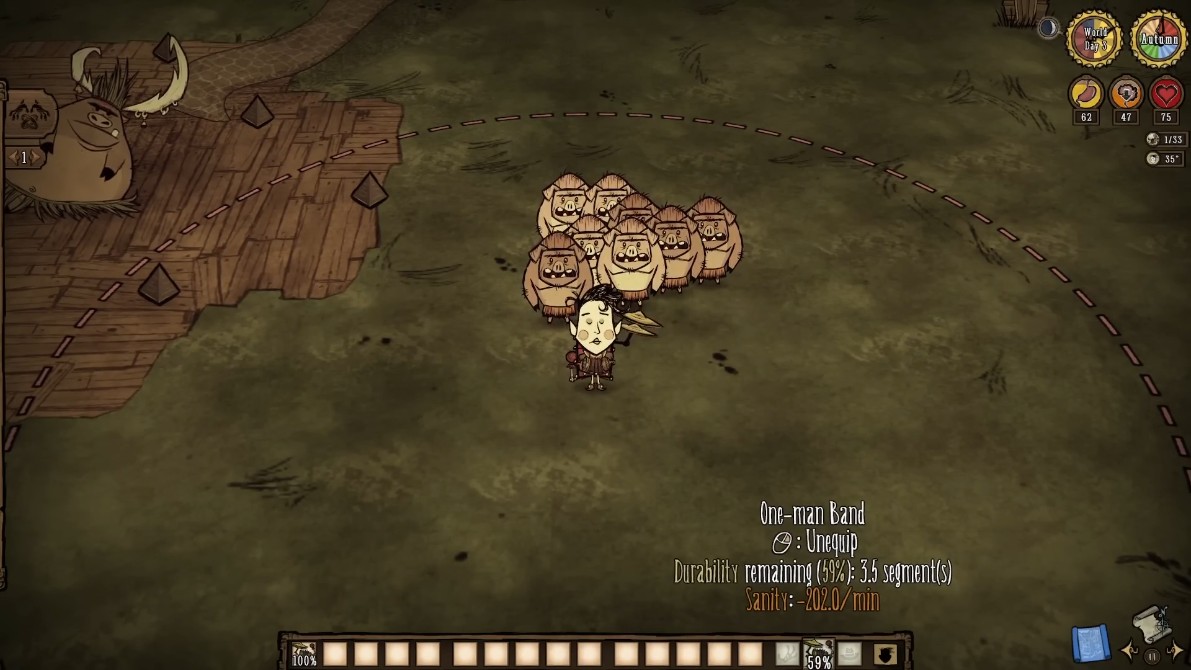
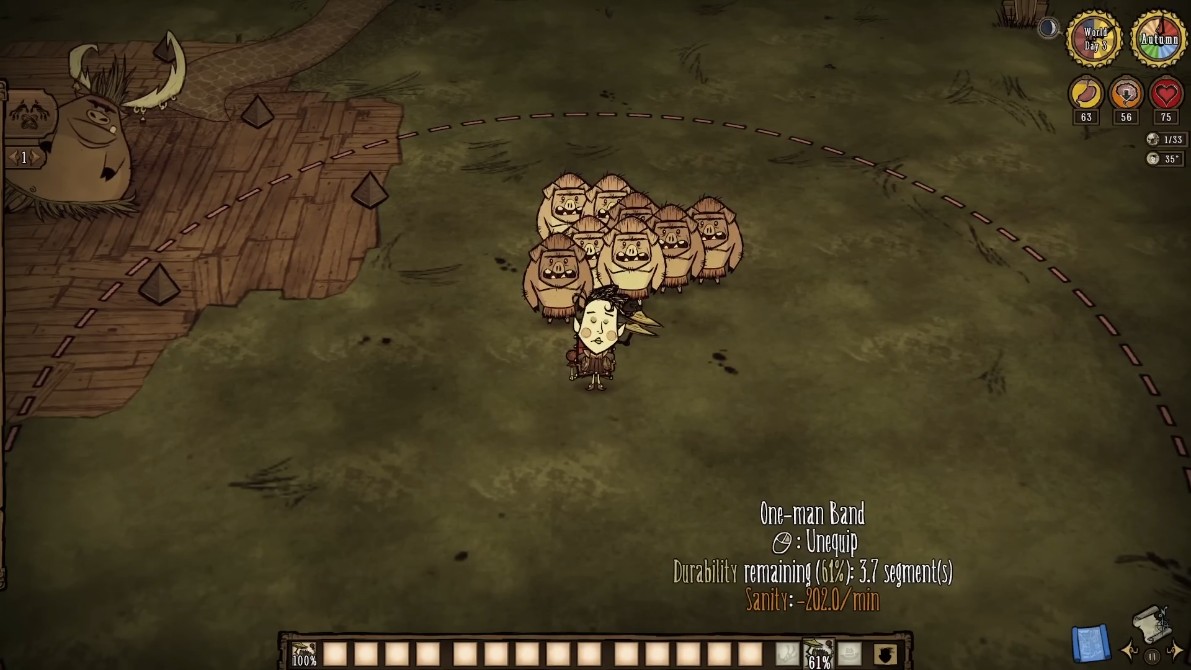
Recruiting Merms and Bunnymen using the One-Man Band, turning enemies into allies.
Sanity? What Sanity?
Yes, the One-Man Band drains -5 sanity per minute. But here’s the pro move: pair it with a Tam o’ Shanter or Jerky to offset the drain. Better yet, let your new Pig army murder Shadow Creatures for free Nightmare Fuel while you farm.
Using the Tam o' Shanter and Jerky to counteract the sanity drain from the One-Man Band.
Advanced Tactics You’re Not Using (But Should)
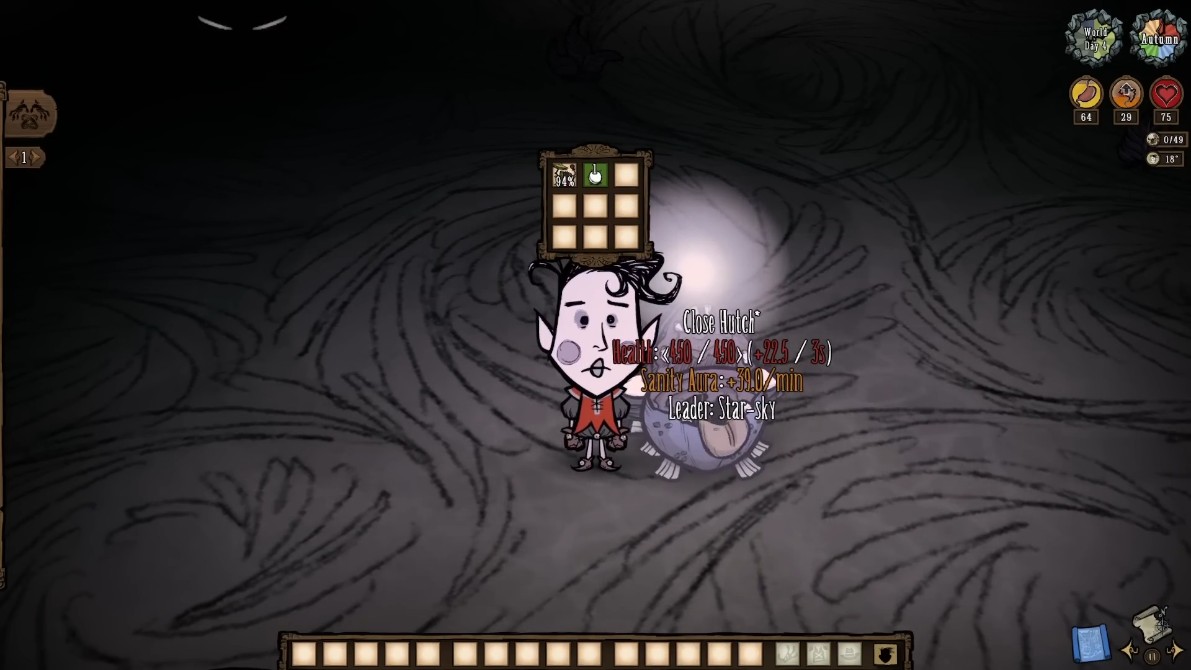
1. The Hutch Combo
Give Hutch (underground Chester) a One-Man Band + Light Bulb. He’ll play music that grants +40 sanity/minute to nearby players. Perfect for boss fights or cave raids.
Hutch playing the One-Man Band, providing sanity boosts to nearby players.
2. Shopkeeper Shenanigans (Hamlet DLC)
In Hamlet, equip the band inside a shop, then walk out. The shopkeeper will follow you outside, letting you loot freely. Just don’t re-enter the shop for 10 seconds—they’ll teleport back!
3. Speed-Growing Giants
Combine the band with Growth Formula and Wormwood’s Bloom for 2-day giant crops. Plant 4 Potato + 4 Tomato in spring, tend with the band, and harvest 8-12 veggies per plant.
Real-World Example: The 1,000-Day Mega-Base
Imagine a Wurt main building a Merm empire:
1. Use the band to recruit 10 Merms from a Swamp.
2. Lead them to chop 50 trees while wearing a Moose/Goose Feather Hat (no aggro from Treeguards).
3. Plant 4x4 Dragonfruit plots. Tend with the band during Full Moon for auto-bloom.
4. Feed excess veggies to the Merm King for infinite loyalty.
Result? A self-sustaining base where Merms farm, fight, and build while you focus on lunar rifts.
“But Why Not Just Use a Beefalo Horn?”
Good question. The Beefalo Horn tends crops in a smaller radius and can’t recruit mobs. It’s like comparing a Swiss Army knife to a butter knife:
| Scenario | One-Man Band | Beefalo Horn |
|---|---|---|
| Tending 16 crops | 2 seconds | 10+ seconds (multiple uses) |
| Recruiting Merms | Yes | No |
| Sanity Cost | -5/min | None |
| Crafting Difficulty | Easy (Pig Farms) | Rare drop from Beefalo |
Final Verdict: Stop Sleeping on This Item
The One-Man Band isn’t just for memes. It’s a multi-role powerhouse that trivializes farming, enables mob armies, and synergizes with late-game strategies. Next time you’re sweating over Growth Formula or trying to rally Merms, remember: this goofy instrument does it all.
TL;DR Cheat Sheet
- Farming: Tap the band for 2 seconds per growth stage on 4x4 plots.
- Mobs: Recruit 10 followers by resetting aggro.
- Sanity: Offset drain with Jerky or sanity gear.
- Advanced: Combine with Hutch or Growth Formula for OP results.