Jellyfish in Don’t Starve: Shipwrecked are like the Swiss Army knife of survival tools: they’re food, light sources, and even GPS markers if you know how to use them. But mess up, and you’ll spend half your playtime respawning. Let’s break down why these wobbly sea blobs are essential—and how to exploit them without frying your health bar.
Jellyfish serve multiple purposes in Don't Starve: Shipwrecked.
Why Jellyfish Matter (More Than You Think)
1. The Hunger-Health Loop
- Raw stats: Killing a jellyfish nets you 10 Health and 10 Hunger when eaten raw. Cooked, it jumps to 20 Hunger.
- Zero sanity cost: Unlike monster meat or mushrooms, jellyfish won’t drain your sanity.
- Renewable: They respawn every 60 seconds, making them a bottomless pantry.
2. The Shock Problem (and How to Beat It)
- 5 damage per zap: Hit them with a melee weapon, and you’ll lose health.
- Workarounds:
- Snakeskin Hat/Jacket: Neutralizes shock damage.
- Range attacks: Use a Spear Gun or let other mobs (like Ballphins) kill them for you.
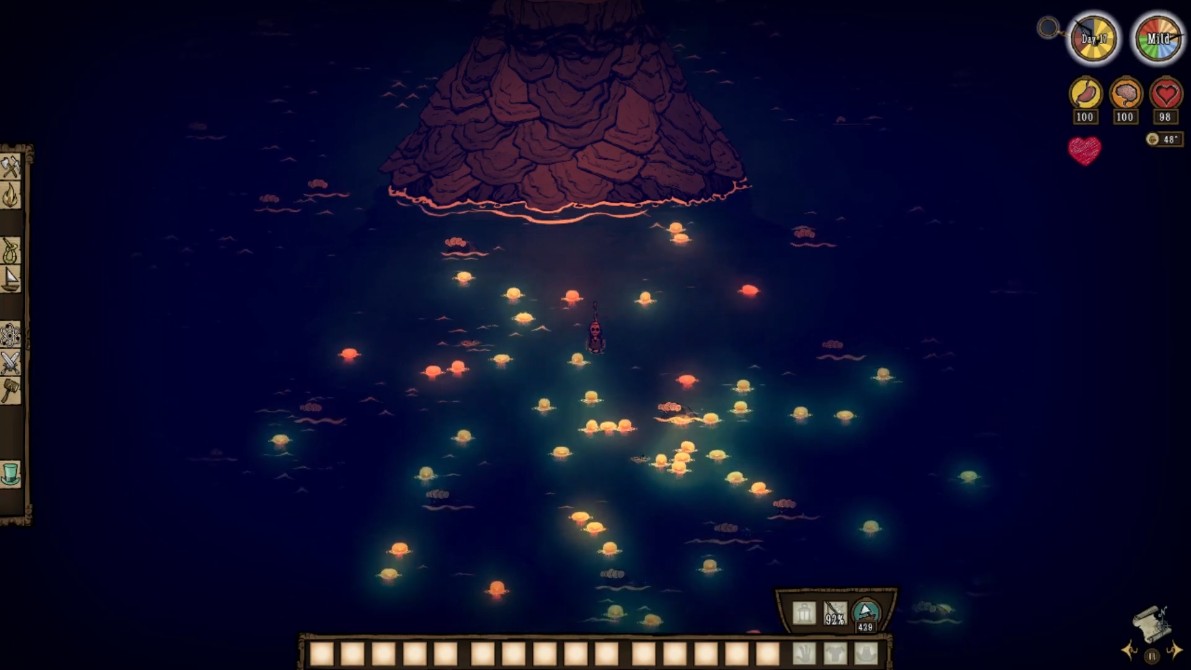
3. Rainbow Jellyfish: Your Volcano Compass
- During a New Moon, rainbow jellyfish migrate toward the volcano. Follow their glow to locate it.
- Bonus: They don’t shock you, making them safer to farm.
Step-by-Step: Farming Jellyfish Like a Pro
1. Early-Game Setup
- Craft a Net or Trawl Net to catch them alive.
- Prioritize a Snakeskin Hat (1 Snake Skin + 1 Bone Shard) to avoid zaps.
2. Mid-Game Optimization
- Build Fish Farms near your base. Stock them with Roe to automate fish production—jellyfish pair well with Surf ‘n’ Turf (60 Health).
- Use Drying Racks for preserved snacks: Dried Jellyfish last 20 days.
3. Late-Game Power Moves
- Brain of Thought: Crafted with 1 Jellyfish + 1 Brainy Sprout, this hat unlocks all recipes temporarily—perfect for prototyping on the go.
- Jellyfish Lure: Drop live jellyfish near hostile mobs (e.g., Sharkittens) to distract them while you loot.
Common Mistakes (and How to Fix Them)
| Mistake | Consequence | Solution |
|---|---|---|
| Meleeing without protection | 5 HP loss per hit | Always wear Snakeskin gear or use ranged weapons |
| Ignoring migration patterns | Wasting time searching for the volcano | Follow rainbow jellies on New Moons |
| Overfarming | Spawning Floaty Boaty Knights (aggressive clockwork mobs) | Space out kills to avoid triggering their spawn timer |
Advanced Tactics: Beyond Basic Survival
1. Jellyfish as Bait
- Drop a live jellyfish near a Fishermerm Hut. Merms will prioritize fishing it, leaving their catches unattended—free food.
- Use them to lure Swordfish into traps for Cutlass Supreme crafting.
2. Sanity Management
- Cooked Jellyfish + Banana Pop (1 Banana + 1 Ice + 2 Twigs) = +33 Sanity. Perfect for monsoon seasons when mushrooms rot.
3. Volcano Sacrifice Strategy
- Offer Rainbow Jellyfish to the Altar of Snackrifice to delay eruptions. Each jelly reduces eruption timers by 10%.
Real-World Examples
Case Study: The 100-Day Base
A player survived 100 days by:
1. Building near limpet rocks for infinite Bisque (60 Health).
2. Using Fish Farms + jellyfish for Surf ‘n’ Turf.
3. Following rainbow jellies to the volcano on Day 17 to stockpile Obsidian.
Analogy: Jellyfish = Gas Station Snacks
They’re not gourmet, but when you’re stranded at sea with a broken boat, they’re the quickest way to refuel. Just don’t forget the snakeskin condom—er, hat.
TL;DR: Jellyfish Cheat Sheet
- Wear Snakeskin to avoid shocks.
- Follow rainbow jellies to find the volcano.
- Pair with Fish Farms for endgame food.
- Don’t overfarm—Floaty Boaty Knights suck.
Resources:
- Don’t Starve Wiki: Jellyfish
- Rainbow Jellyfish Migration Guide