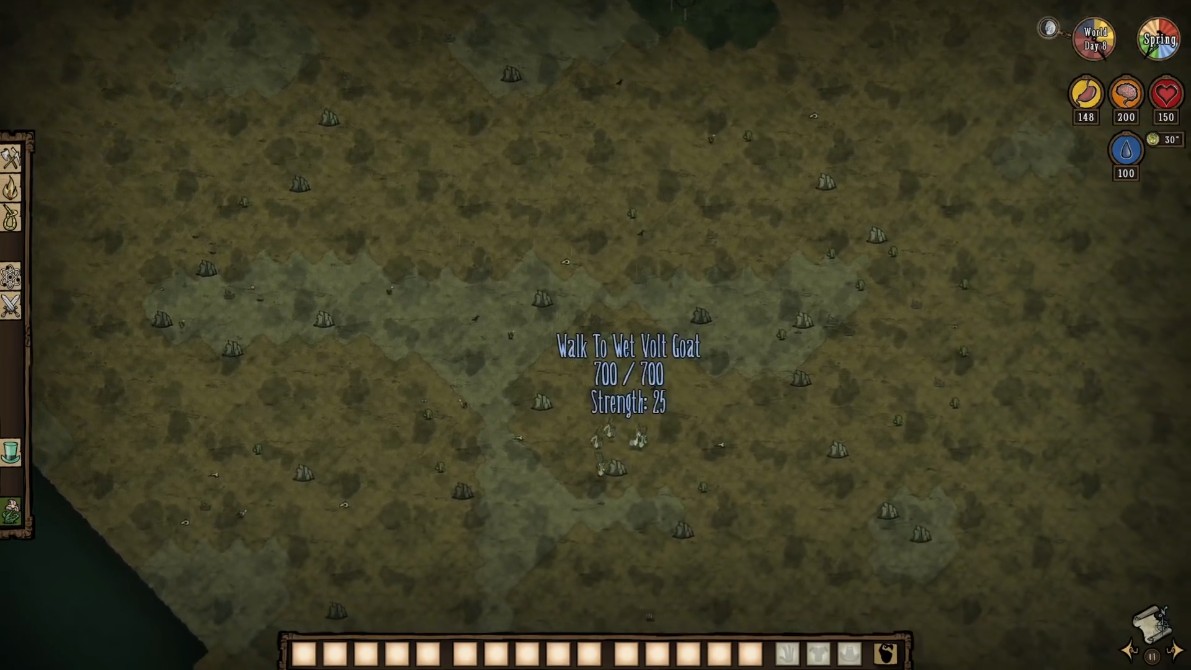
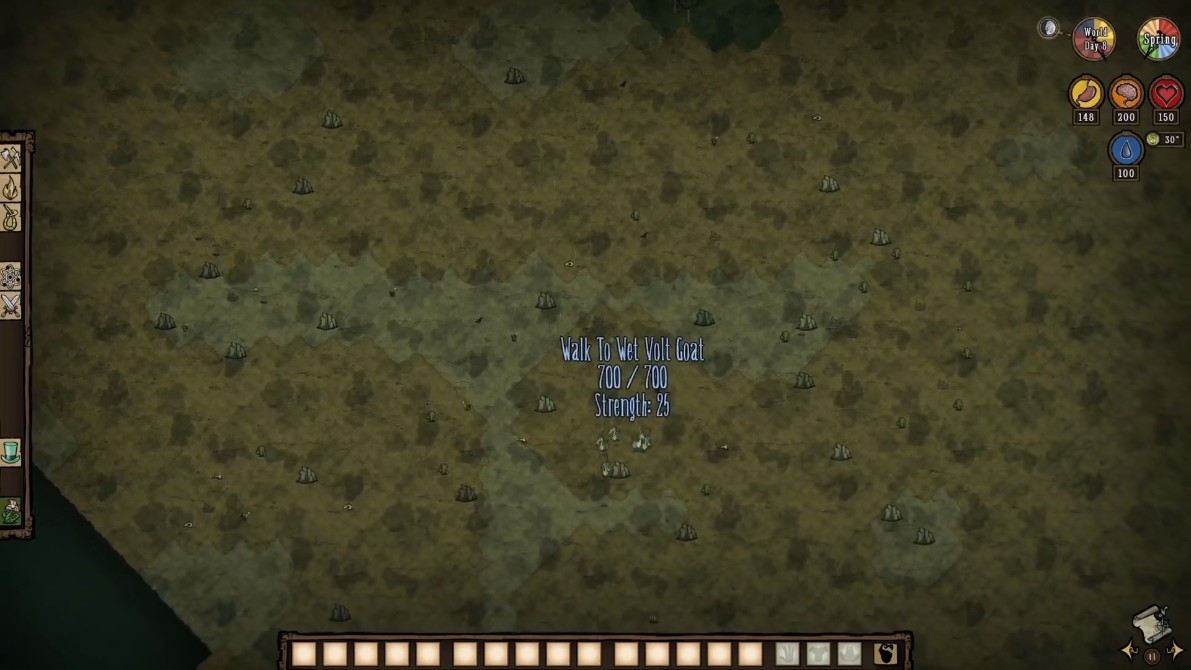
Volt Goats are one of Don't Starve’s most misunderstood resources. Players either love them for their renewable meat and horns or despise them for their finicky mechanics. If you’ve ever accidentally wiped out an entire herd or struggled to get those precious horns for a Morning Star, this breakdown will turn your frustration into a well-oiled farming machine.
Why Volt Goats Are Worth the Hassle
Volt Goats are neutral mobs found in the Desert biome, recognizable by their static-charged fur and tendency to flee when approached. At first glance, they seem underwhelming—until you realize their drops are critical for late-game survival. Each Volt Goat guarantees 3 Meat upon death and has a 25% chance to drop a Volt Goat Horn, an essential ingredient for crafting the Morning Star (a weapon that deals electrical damage) and the Weather Pain (a tool that clears forests in seconds). Charged goats also drop Electric Milk, used in high-tier recipes like Ice Cream.
The real value lies in their respawn mechanics. Unlike most mobs, Volt Goats regenerate as long as at least one member of the herd remains alive. This makes them a renewable resource—if managed correctly.
Herd Mechanics: Don’t Kill Them All (Seriously)
The Safety Goat Principle
Every Volt Goat herd has an invisible “herd point” that determines where new goats spawn. This point slowly shifts based on the herd’s movement. If you kill every goat in a herd, the spawn point vanishes, and the herd is gone forever. To avoid this, always leave one goat alive—the “safety goat”—to ensure the herd repopulates.
Here’s how it works:
1. Isolate one goat from the herd by luring it away.
2. Kill the rest while leaving the isolated goat alive.
3. The herd’s spawn point will now follow the safety goat.
This goat becomes your anchor. Even if you never interact with it again, the herd will continue to regenerate as long as the safety goat lives.
Relocating Herds: How to Move Goats Without Losing Your Sanity
Volt Goats naturally spawn in the Desert, but basing near them isn’t always practical. Relocating herds is possible but requires patience:
Step 1: Reduce the Herd to One Goat
Use a Boomerang or Sleep Dart to separate a single goat from the group. Kill the others, leaving your safety goat.
Step 2: Push the Goat Slowly
Volt Goats retreat when approached, so “pushing” them involves herding them toward your desired location. Move a few tiles, wait for the goat to wander back, then repeat. The herd point will gradually shift.

Carefully push the safety goat to your desired location to shift the herd point.
Step 3: Lock the Goat in Place
Once the safety goat is near your base, build a wall enclosure to keep it stationary. Use Stone Walls (or stronger) to prevent the goat from breaking out if charged.
lua
-- Example enclosure setup for a safety goat:
BuildEnclosure(4x4 tiles)
AddGate() -- For access
PlaceLightningRod() -- Prevent accidental charging
Automating the Farm: Let Anenemies Do the Dirty Work
Manually killing goats is time-consuming. For a hands-off approach, use Anenemies (starfish-like traps from the Lunar Island) to automate the process:
How Anenemies Work
- Deal 60 damage every 60 seconds, even when offscreen.
- Attack any mob in their radius, including Volt Goats.
Building the Auto-Farm
- Trap the Herd Point: Use walls to create a small pen around the herd’s spawn point.
- Place an Anenemy: Center it in the pen and fuel it with Purple Gems.
- Add a Safety Goat: Teleport or push a goat far away to serve as the herd anchor.
The Anenemy will kill goats as they respawn, while the safety goat ensures the herd never dies out. Return periodically to collect Meat, Horns, and Rot (from spoiled meat).
Charged Goats: High Risk, High Reward
Volt Goats become “charged” during thunderstorms or when struck by electrical attacks (e.g., Morning Star). While dangerous, charged goats offer unique benefits:
- Electric Milk: Dropped only by charged goats.
- Increased Damage: Charged goats deal 25 damage per hit and stun players, but this can be negated with Insulated Clothing (e.g., Eyebrella, Rain Coat).

Charged Volt Goats provide Electric Milk but are dangerous to approach.
lua
-- Sample combat strategy against a charged goat:
if wearingInsulatedClothing then
    AttackSafely()
else
    RunAwayAndWaitForDischarge()
end
Common Pitfalls (and How to Avoid Them)
Mistake 1: Killing the Entire Herd
Solution: Always leave a safety goat. Track herds using Suspicious Dirt Piles in spring rain if you’ve already wiped one out.
Mistake 2: Poor Pen Design
Solution: Use double-layer walls to prevent escapes. Add a Lightning Rod to avoid accidental charging.
Mistake 3: Ignoring the Herd Point
Solution: Monitor the herd’s spawn location. If goats stop respawning, check if the safety goat is alive and the pen isn’t overcrowded.
Real-World Example: Lakhnish Monster’s Auto-Farm Design
Popular Don’t Starve player Lakhnish Monster pioneered a widely-used auto-farm setup:
1. Safety Goat: Teleported to a remote island using a Telelocator Focus.
2. Anenemy Trap: Placed in a 3x3 stone pen near the base.
3. Lazy Forager: Automatically collects drops without manual input.
This design produces ~11 horns per year per herd, making it ideal for long-term worlds.
Final Tips for Volt Goat Mastery
- Prioritize Safety Goats—they’re your lifeline.
- Use Anenemies for effortless farming.
- Combine Horns with Warly’s Recipes for massive damage boosts.
For more details, check out these resources:
- Video Guide: Griever84’s Auto-Farm Tutorial
- Advanced Mechanics: Don’t Starve Wiki – Volt Goats
Now go forth and farm—your future self will thank you when you’re wielding a Morning Star against a pack of Hounds.