Got a Beefalo Bell but feel like you're barely scratching its potential? This isn't just another "feed and ride" tutorial - we're diving into the hidden tech that turns this unassuming gold-and-flint tool into a game-breaking Swiss Army knife. Whether you're trying to cheese bosses with teleporting cavalry or build a wool-powered empire, the bell holds the key.
The Three Layers of Beefalo Bell Mastery
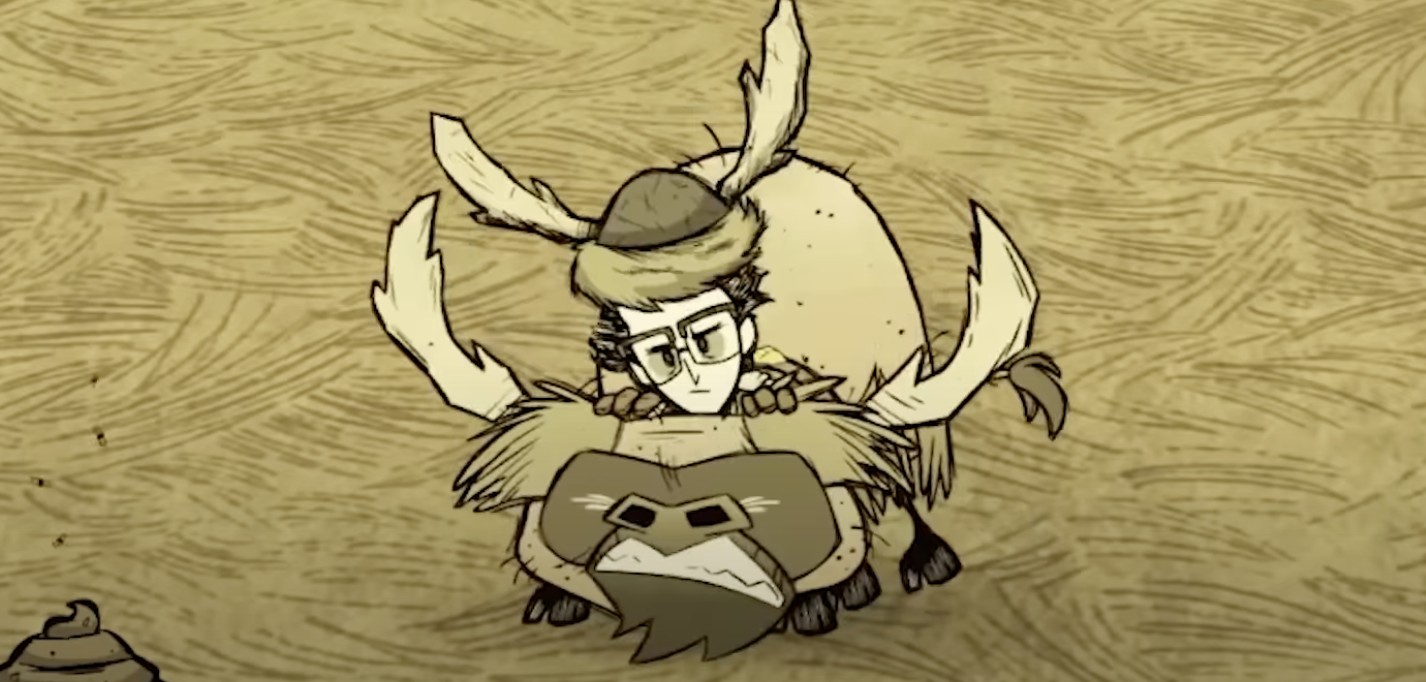
1️⃣ Core Mechanics (What You Think You Know)
Bonding 101:
- Costs 3 gold + 1 flint (Science Machine required)
- Single-bond limitation prevents multi-beefalo abuse
- Default naming includes "[Player]'s Beefalo" (change this IMMEDIATELY - unique names help track specializations)
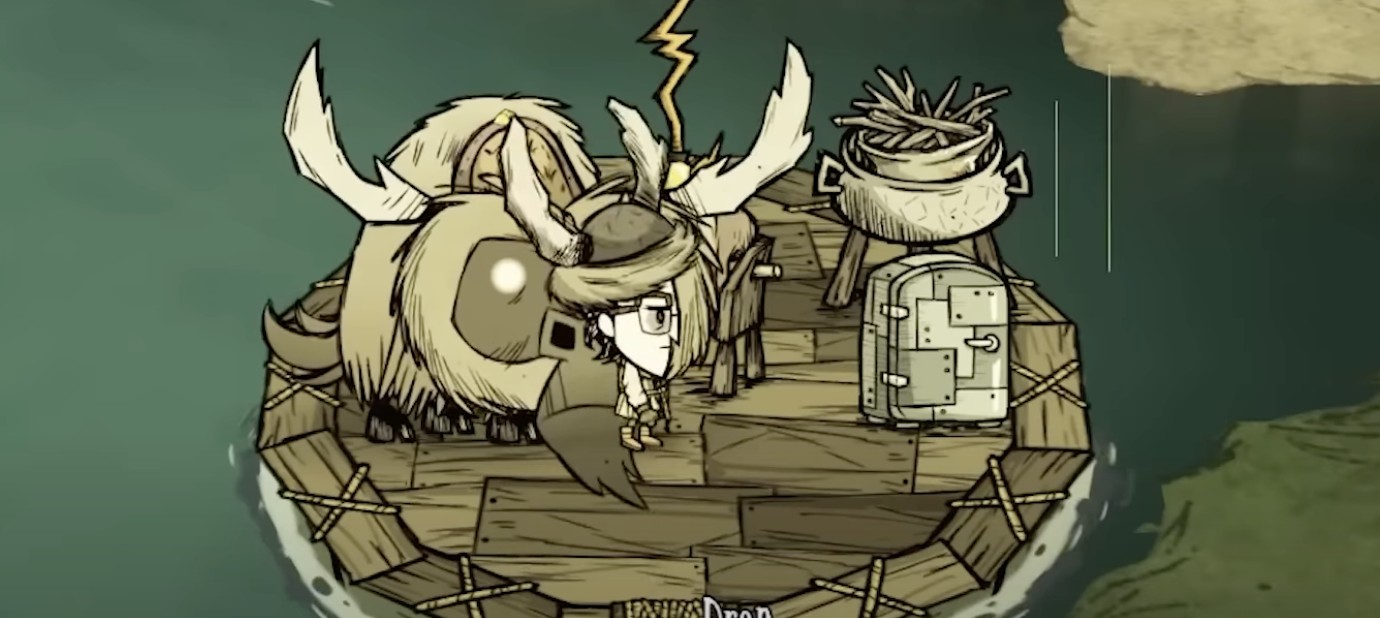
Understanding the bonding mechanics of the Beefalo Bell.
Teleportation Quirks:
lua
-- Beefalo teleport triggers when:
1. Player moves > 3.5 screens away
2. Player enters/exits caves
3. Player uses Lazy Deserter/Wanda portals
Warning: Teleporting via Wanda portals leaves beefalo "stuck" until server reset. Always carry a backup saddlehorn.
Key triggers for Beefalo teleportation, crucial for advanced strategies.
2️⃣ Advanced Obedience Engineering
Light Bulb Meta (Caves-Exclusive Strategy):
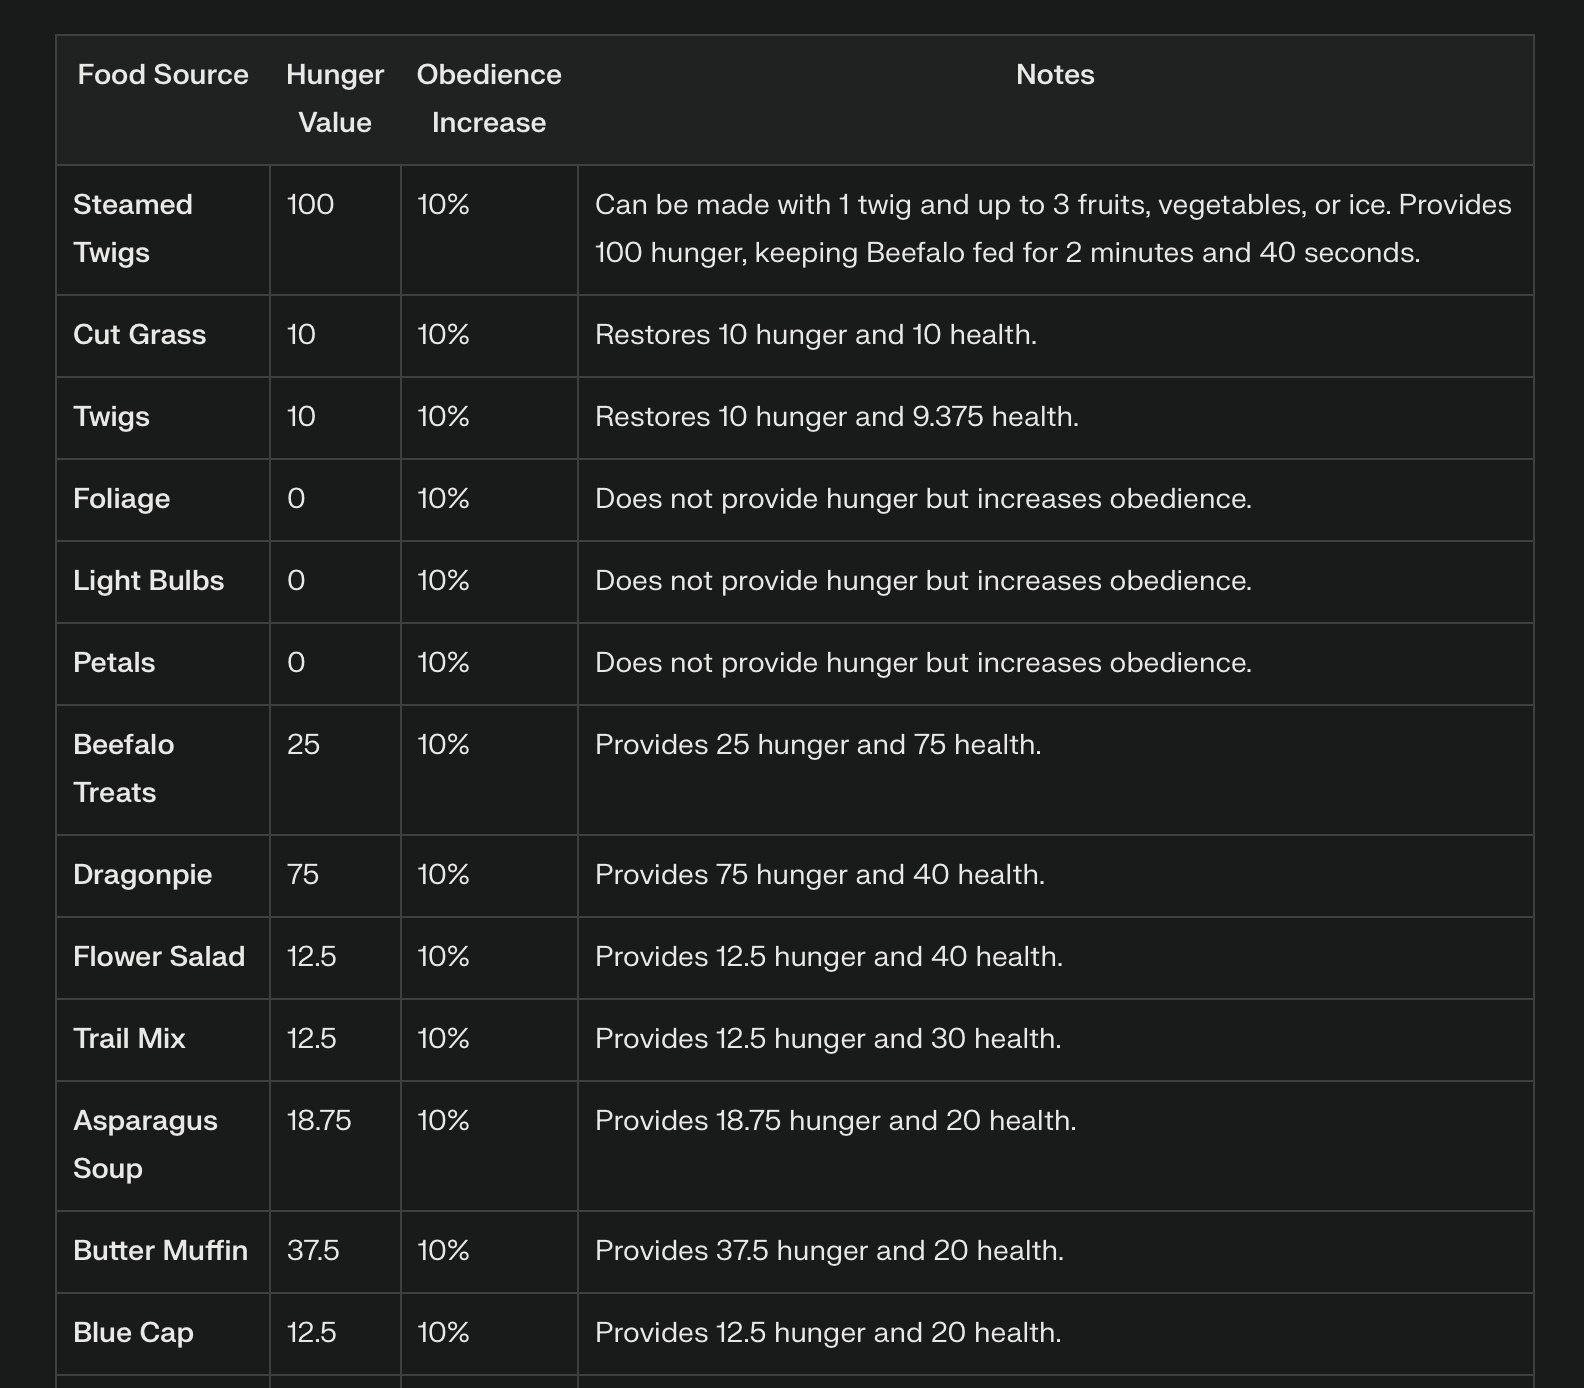
Food sources and their effects on Beefalo obedience levels.
Pro Tip: Combine cave light bulb farming with depth worm attacks for simultaneous Ornery tendency gains. Each worm fight while mounted gives +0.8% damage specialization.
Hunger Management Cheat Sheet:
WHEN BEEFALO... | RESPONSE
Farts immediately | Overfed (domestication penalty)
Sniffs air | Needs food (300 hunger)
Shakes saddle | Obedience <40% (feed 5-7 twigs)
```
Game-Changer: Use Steamed Twigs (4 twigs in crockpot) for 200 hunger vs raw twigs' 50. Maintain perfect hunger with 3 steamed servings/day.
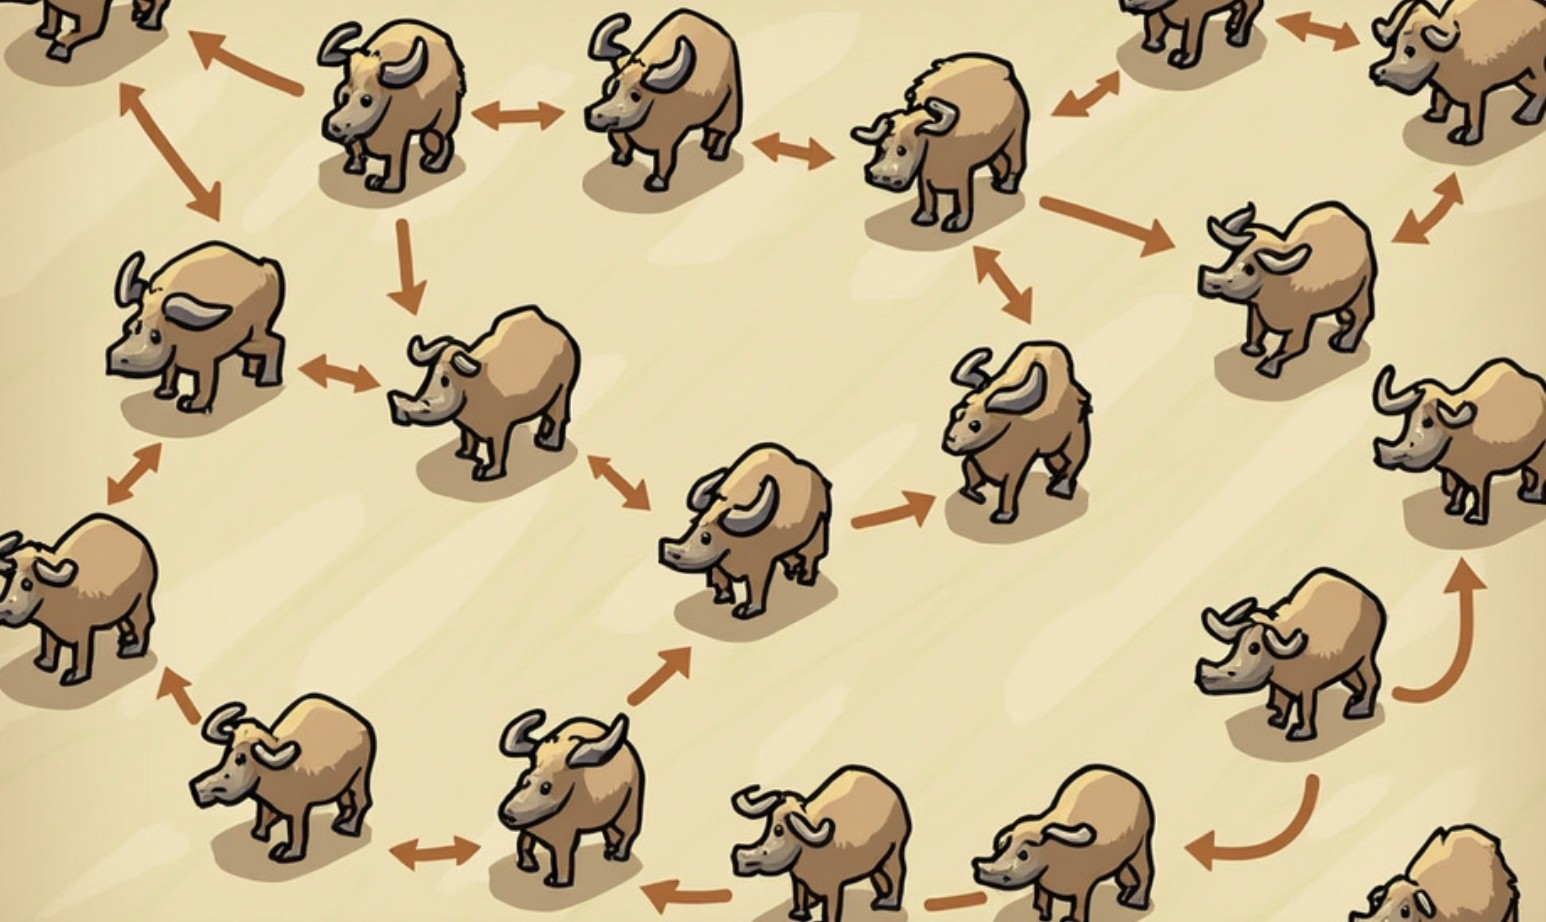
3️⃣ Late-Game Herd Dynamics
Multi-Herd Strategy:
1. Bond primary beefalo
2. Drop bell at target location (e.g., near moon quay)
3. Let natural breeding create satellite herd
4. Repeat with secondary bell user for 3+ herds
Caution: Herds beyond 4 beefalo cause pathfinding lag. Use grooming stations as anchor points.
Visual representation of a multi-herd strategy for managing Beefalo.
Combat Formations:
- Phalanx: Line of rider beefalo (8.0 speed) with war saddles
- Hammer & Anvil: Ornery beefalo (50 dmg) flanking from caves
- Sanity Net: Pudgy beefalo circling base (6.5 speed + 6.3/min sanity)
Different combat formations to optimize Beefalo usage in battles.
Real-World Applications From Reddit Pros
Case Study 1: Early-Game Hound Defense
u/CaveExplorer2024's strat:
1. Day 3 bell bond with basic beefalo
2. Lead to mud biome (light bulbs + worms)
3. Farm 300% obedience/day while training Ornery
4. By first hound wave (day 8-12), 50 dmg mount ready
Case Study 2: Boss Cheese via Teleportation
Speedrunner M̴a̷d̸B̸e̷e̸f̴'s Toadstool kill:
1. Bell-bonded beefalo in surface base
2. Fight starts in caves
3. Teleport out → beefalo appears rider-ready
4. Repeat for infinite fresh mounts
The 7 Deadly Sins of Beefalo Management
- Leaving Bell in Chests → Wild players can steal your bonded beef
- Overbrushing → Wastes Ewecus wool (save for winter insulation)
- Ignoring Tendency Timers → Default beefalo occur from 40-60% balanced points
- Cave Transition Without Bell → Beefalo get stuck in loading limbo
- Spring Heat Mismanagement → Caves prevent seasonal heat but NOT spring mating
- Salt Lick Overuse → 1 lick = 0.5% domestication/day (not worth the resources)
- Forgetting Gloom Bell → Shadow variant allows infinite revives (cost: 50% max HP)
When to Ditch the Bell (Yes, Really)
Wolfgang/Wanda Mains: Their native speed/damage outpaces beefalo benefits post-day 60
MegaBase Architects: Beefalo pathfinding destroys carefully placed turf patterns
PvP Servers: Bell users become raid targets for mounted combat denial
Final Pro Tip: The Gloom Bell Endgame
Unlocked via Shadow Rift content:
- Crafting requires 1 Possessed Shadow Atrium + 5 Pure Horror
- Revives bonded beefalo (15-day cooldown)
- Synergizes with Wortox souls for health recovery
Resource Shortcut: Farm Pure Horror via repeated Fuelweaver kills with revived Ornery beefalo cavalry.
TL;DR: The Beefalo Bell isn't a tool - it's an entire playstyle. From light bulb farming runs to shadow-infused resurrection tech, mastering its systems turns you from survivor to overlord. Keep that bell glued to your inventory, name your beefalo something terrifying, and remember: a herd divided conquers harder.